HDR stands for High Dynamic Range and is a technique in photography where multiple images at different exposures are combined into one image using software. The number of images that you need depends on the difference between the lightest and darkest areas of the scene, You produce the images by bracketing exposures of the images, keeping the aperture constant and varying the shutter speed. This will produce images that range from the very dark to the very bright.
You then use software like Photomatix Pro to combine the image into a HDR image, this 32 bit file. This is two stage process, the combined HDR image looks very strange as you are not able to view the full range on your monitor. In photomatix Pro you can apply to the HDR image either a tonal mapping or exposure fusion. Which one to use depends on your image and what effect you want to produce.
You can also use Photoshop "Merge to HDR" option to create a HDR image.
When doing HDR Photography you should remember the following points.
In applications like Photomatix Pro, you can produce realistic HDR images or Artistic images.
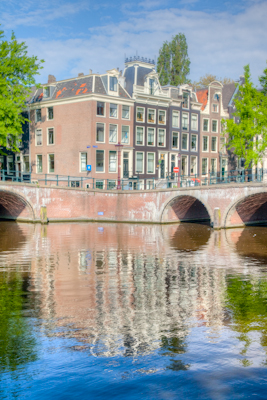
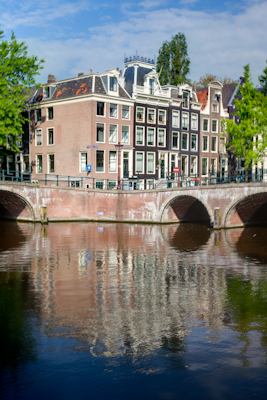
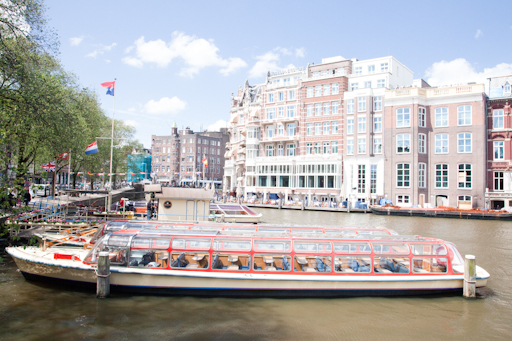
The example below three separate images taken at different exposures
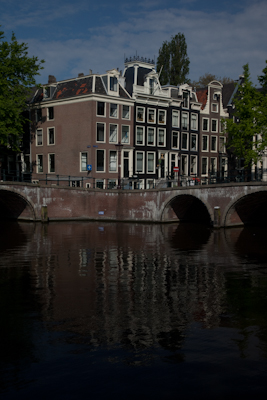
- 1 3/4 EV
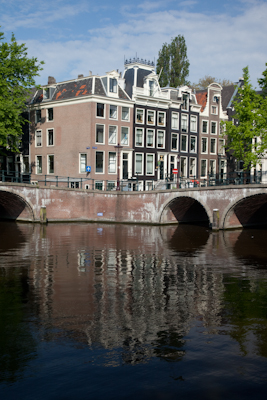
1/40 sec f11
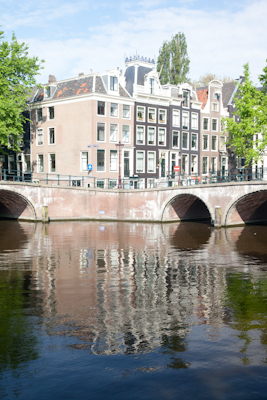
+ 1 3/4 EV
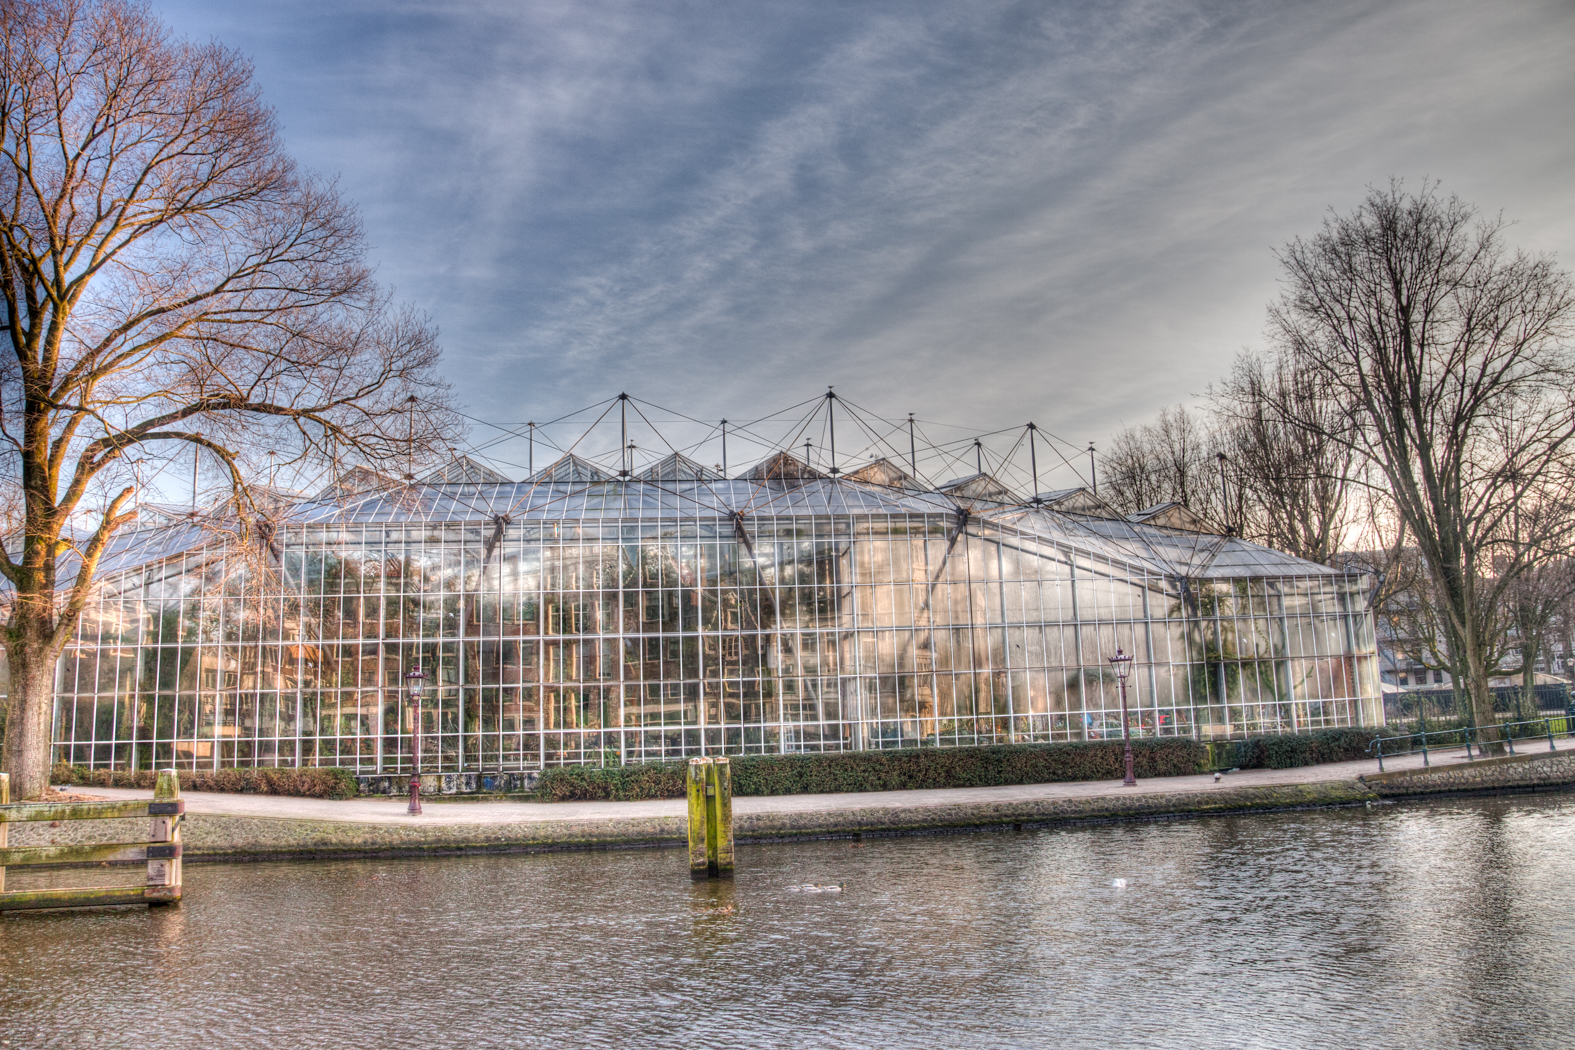
Using Photomatix the following images have been produced
Tone Mapping Details Enhancer Default

Tone Mapping Tone Compressor Default
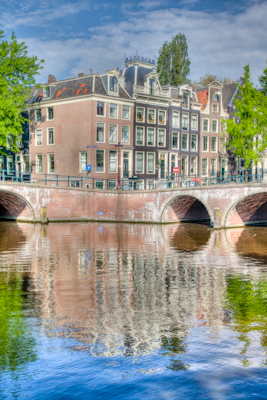
Tone Mapping Details Enhancer Painterly
Fusion Adjusted
It is possible to create a HDR image from one single image using Photomatix and Tone Mapping. You open the file in Photomatix and use the settings to adjust the image.
Another method of creating Pseudo HDR images, is to shot in raw, create copies of the file and then adjust the exposure of each image so that you have detail in the highlights in one image and details of the shadows in the other. You then import the original and copies into Photomatix and create the HDR image. This method allows you to create HDR image when there is a lot of movement in the image.

- 2 EV
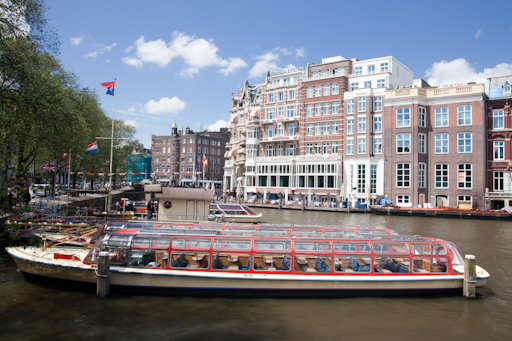
1/100 sec f11
+ 1 EV
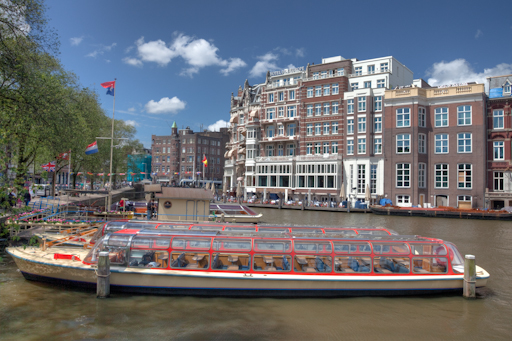
Tone Mapping Details Enhancer Smoother